
There are a ton of operating systems for the Raspberry Pi. Therefore, this article will provide you with a tutorial on how to install any compatible OS on a Raspberry Pi with the official Raspberry Pi imager.
Install Raspberry Pi Imager
To get started, we need to install the official Raspberry Pi Imager, which provides us with a variety of common operating systems for the Pi.
To do so, we have to head to the official download page and download the Raspberry Pi Imager.
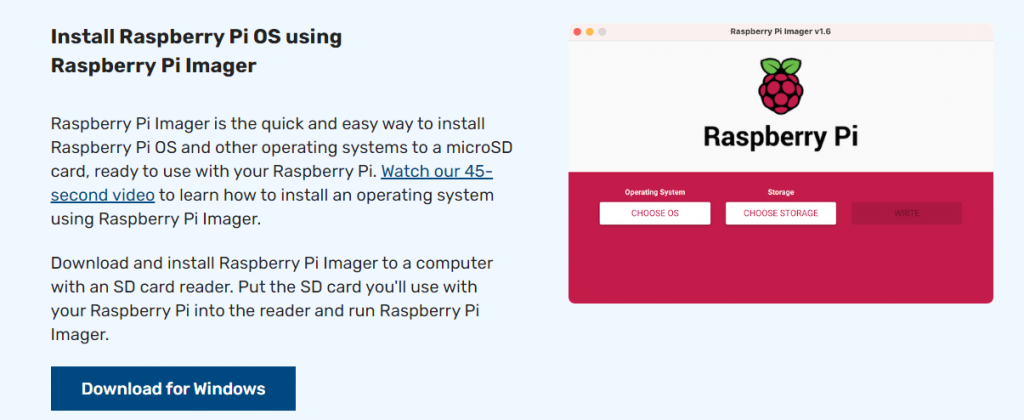
After downloading, simply execute the installer and finally run the imager.
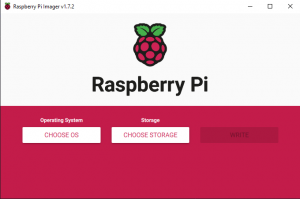
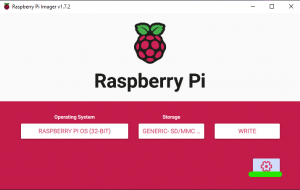
If everything worked as intended, you should see something similar to this:
Install Raspberry Pi OS
If you just want a regular operating system, you would want to go for the official Raspberry Pi OS. To select it, simply click on CHOOSE OS.
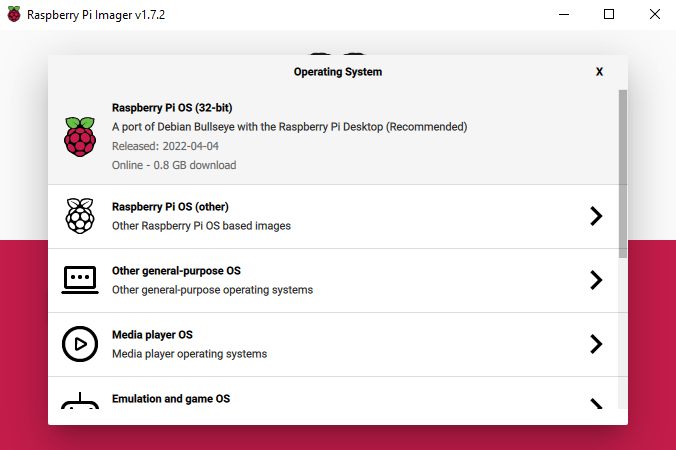
The first recommended option is the regular 32-bit Desktop version of the official Raspberry Pi OS. For most people, this variant should be just fine. However, if you don’t need the Desktop version but any other version, you can select a different Raspberry Pi OS under Raspberry Pi OS (other). To determine which variant you want, you can simply have a look at the description under the name of the OS.
Next, insert your SD card into your computer, click on CHOOSE STORAGE in the imager, and select the SD card.
Additional Options
If you chose the official OS, you get some extra options for configuring your Pi. You can get into the options menu by pressing the settings button in the bottom right.
In those additional settings, you can configure your Pi further. For example, you can change the hostname, set a username and password, and configure the Wi-Fi.
Additionally, if you want to enable SSH (recommended), simply check the Enable SSH option and hit SAVE. In case you don’t want to enable it now, you can still enable it later.
After you are done configuring, hit WRITE to flash the OS to the SD card. Note that all files that are on the SD card will be gone!
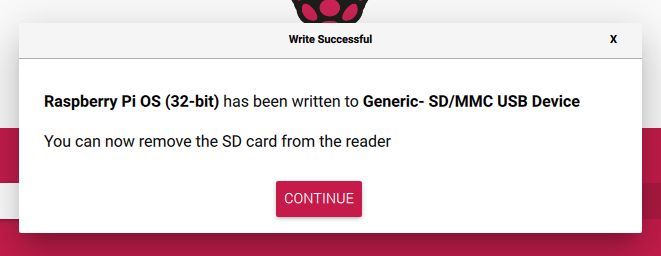
To now run the OS on your Raspberry Pi, remove the SD card from your computer and insert it into your Pi. If everything was successful, the Pi should boot up the new OS.
Install other compatible Operating Systems
As standard, the official Raspberry Pi imager offers a lot of different operating systems for the Pi. That’s why installing most non-official operating systems is as easy as installing an official one.
Simply click on CHOOSE OS and select the desired operating system in the menu that just appeared.

Next, insert your SD card into your computer, click on CHOOSE STORAGE in the imager, and select the SD card.
Now, all that is left to do is to hit WRITE.
To now run the OS on your Raspberry Pi, remove the SD card from your computer and insert it into your Pi. If everything was successful, the Pi should boot up the new OS.
Installing custom image files
To install a custom image, simply click on CHOOSE OS and scroll all the way down to select Use custom. Now, choose your custom image file.

All the other steps are the same as installing other default operating systems.
Enable SSH on Raspberry Pi OS
If you haven’t configured the Enable SSH option while installing the OS, you can still enable it later.
Enable SSH using a different computer
To enable SSH using a different computer, put the SD card of your Pi into the computer. Then, navigate to the boot folder and create a new empty file without a file extension like .txt in it.
On Windows, make sure that you have the File name extensions option enabled.
After you have done that, simply put the microSD card back into your Pi and boot it up as usual.
Enable SSH using the terminal on the Pi
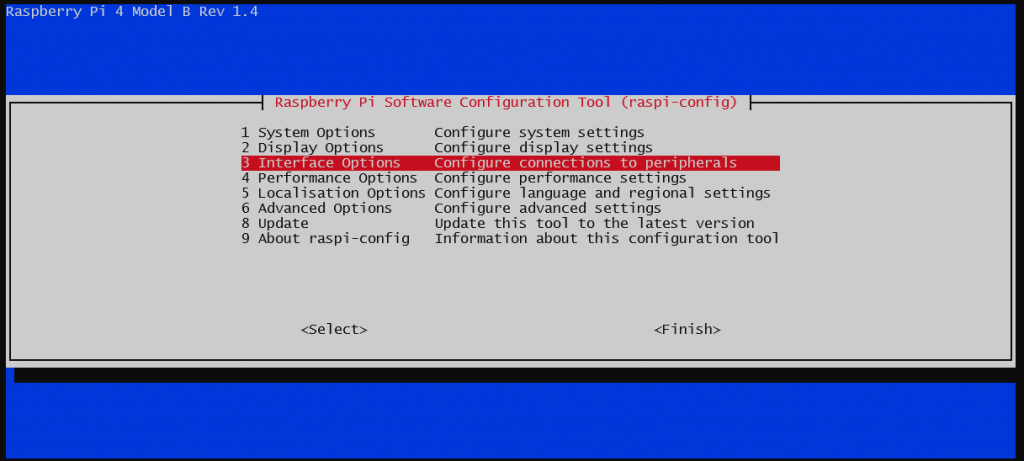
To enable SSH using the terminal on your Pi, type sudo raspi-config into the terminal and hit enter. In the menu that now appears, go to Interface Options.
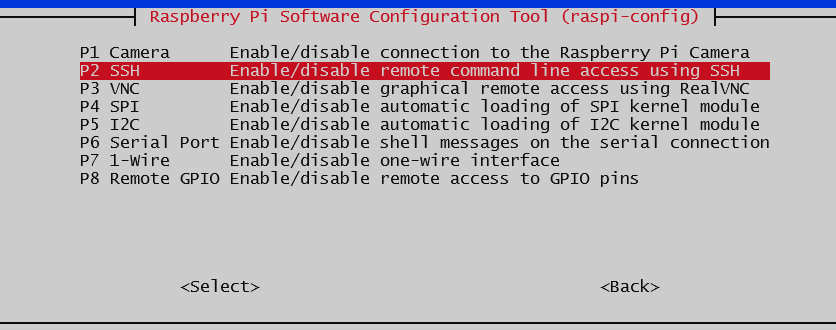
Next, simply select SSH and hit enter again.
After confirming that you want to enable SSH, it should be enabled, and you are shown this message:

Thanks for reading!