

Lego Mindstorms is a very good product for teaching robotics and programming to children. However, there is more you can do with it. In this article, we will cover how to install the Linux-based ev3dev OS on a Lego Mindstorms EV3 brick and create a TCP client in Python to connect and control it with our computer.
If you have an EV3 at home, I suggest trying this yourself, as this experiment is very interesting and fun to implement. Additionally, you could connect multiple EV3s to one computer that handles all of them and build an entire robot army with swarm intelligence.
Requierements
- Lego Mindstorms EV3
- Micro SD Card
- Wireless Network Adapter (Wi-Fi dongle)
- Computer
- Basic programming knowledge
Not all Wi-Fi dongles work with the Lego Mindstorms EV3. However, most Wi-Fi dongles that are compatible with Linux should work.
Here is a list of dongles that are definitely supported:
- NetGear WNA1100 Wireless-N 150
- Edimax EW-7811Un 802.11n Wireless Adapter
- EP-N8508GS 150Mbps Mini Wireless 802.11N USB Adapter
Setup
To be able to run Python code on the EV3, we need to install a new operating system, which is called ev3dev, on it.
Step 1: Download Image File
Download the latest ev3dev image file from their official website: https://www.ev3dev.org/docs/getting-started/
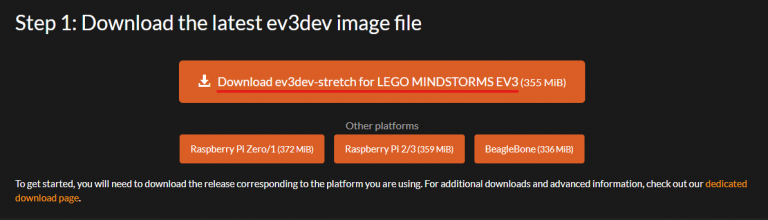
Do not unzip this file!
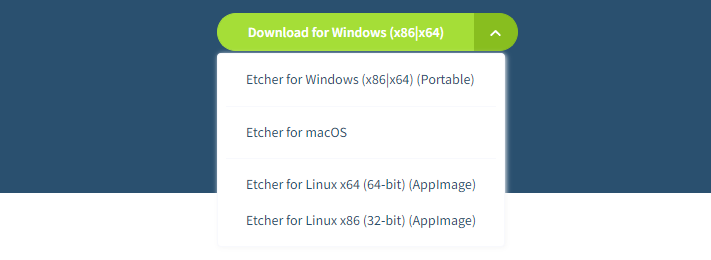
Step 2: Flash Image to SD card
Now, head to the website of Balena Etcher and download & execute the Etcher program.
After Etcher has finished installing, open it and select the ev3dev image file that you downloaded from the ev3dev site.
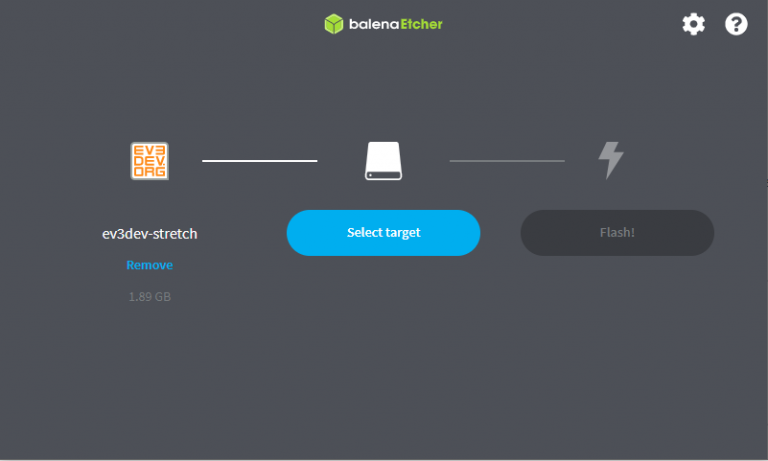
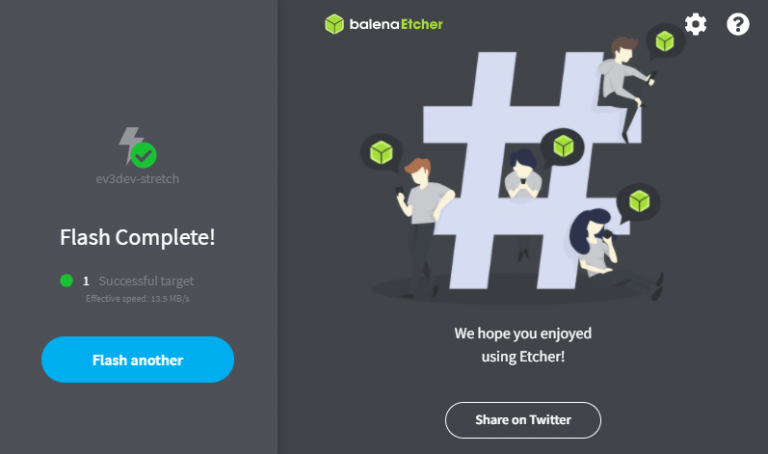
Now just plug your micro SD card into your computer, select it in Etcher, and start flashing it. This process may take a while.
Note that all of the files that are on the SD card will be deleted!
Step 3: Run it on your EV3
After the flashing is done, you can insert the SD card into the EV3 and boot it up as normal. The EV3 now lights up orange and shows a lot of tiny text on the screen while it’s booting. This process takes a while.
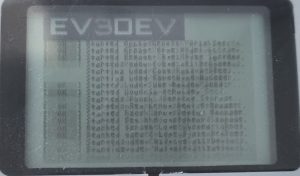
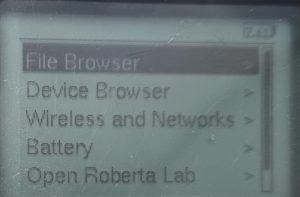
After the EV3 has successfully booted up, it shows the main menu.
If you want to get back to the normal Mindstorms EV3 OS, simply power the EV3 off by pressing the back button in the main menu, then remove the SD card and power it back on as usual.
Step 4: Connect the EV3 to a WiFi network
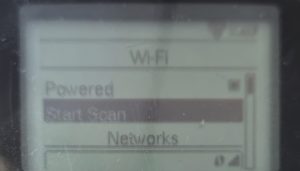
To connect the EV3 to a WiFi network plug in your Wireless Network Adapter, select the menu Wireless and Networks, then go to Wi-Fi. Now, tick the field Powered by pressing the OK button of the brick. If WiFi is now activated, start the scan.
If the EV3 shows a blank screen with a message saying something like “unavailable”, it means that it couldn’t recognize your network adapter.
If the EV3 has found your network, you can select it, press OK, then click on connect, and type in your password. This process should be self-explanatory.
Step 5: Connect the EV3 to your computer
To start coding, we need to connect the EV3 to our computer. For the sake of this tutorial, I am going to write the code over SSH in Nano. If you prefer writing the code in Visual Studio Code, you can install the EV3 MicroPython Extension and follow the instructions on how to connect the EV3 to VS Code here.
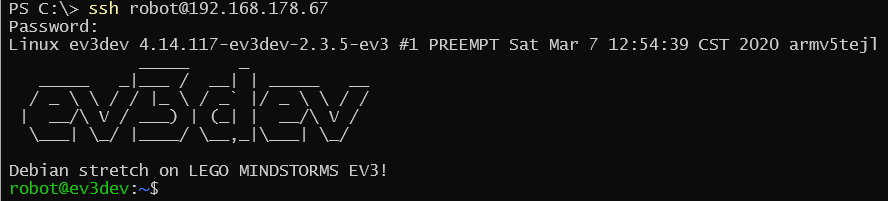
To connect to the EV3 via SSH, open a terminal/CMD window (search for CMD on windows), and run this command: ssh robot@<Your EV3’s IP address>. You can find out your EV3’s IP address by having a look at the top left corner of its screen. If your EV3 is connected to the network properly, it should ask for a password after a short amount of time. If so, simply use the standard password maker.
If everything worked you will see something like this:
Start Coding
To now finally, start coding, we first need to open a new Python file. We do so by typing nano filename.py into the terminal. Now a new text editor, in which we can write our code, opens.
We start by writing the code from this tutorial on how to create a TCP client.
				import socket

target_host = "192.168.178.73" # Change this to the IP address of your server
target_port = 27700 # Change this to the port of your server

# create a socket
client = socket.socket(socket.AF_INET, socket.SOCK_STREAM)
client.settimeout(1)
# connect to the server
client.connect((target_host, target_port))
# receive
response = client.recv(4096)
if response.decode() == "ready":
    print("Successful")
else:
    print("Not successful")
# send
client.send("hello world".encode())
Now save the code by pressing ctrl+x, then hit y, and finally enter.
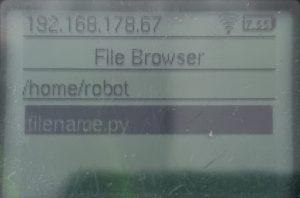
You can either execute the code by typing python filename.py into the terminal or by going to the main menu on your EV3 and then to the File Browser.
But if we run this file now, it will do nothing because it cannot find a server to connect to. We, therefore, now also have to create a TCP server on our computer. If you want to understand the code for the TCP server in detail, you can read through this article. Otherwise, here is the code:
				import socket
import threading

bind_ip = "127.0.0.1" # Replace this with your own IP address
bind_port = 27700 # Feel free to change this port
# create and bind a new socket
server = socket.socket(socket.AF_INET, socket.SOCK_STREAM)
server.bind((bind_ip, bind_port))
server.listen(5)
print("Server is listening on %s:%d" % (bind_ip, bind_port))

def clientHandler(client_socket):
    # send a message to the client
    client_socket.send("ready".encode())
    # receive and display a message from the client
    request = client_socket.recv(1024)
    print("Received \"" + request.decode() + "\" from client")
    # close the connection again
    client_socket.close()
    print("Connection closed")

while True:
    # wait for client to connect
    client, addr = server.accept()
    print("Client connected " + str(addr))
    # create and start a thread to handle the client
    client_handler = threading.Thread(target = clientHandler, args=(client,))
    client_handler.start()
Before you run the codes, make sure that you replaced the IP address in both codes with the IP address of your own computer. Otherwise, the code will not work properly.
To use this code, make sure you have Python installed, then create a new file on your computer with the .py extension, paste the code into that file, and lastly run it in a new terminal/CMD window (don’t use the window that is connected to your EV3) with the command python filename.py.
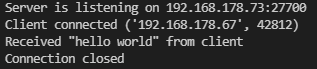
If everything worked as intended, you will get something like the following output from the server on your computer:
Summary
That’s it! You now have a self-coded connection between your computer and your EV3. You can use this connection to control your EV3 or even multiple EV3s that have some kind of swarm intelligence. Additionally, you have learned how to flash an SD card, run a new OS on your EV3, and how to connect to it via SSH.
You can see how to program the EV3’s sensors and motors here.
Thanks for reading!